Process of Wajimanuri
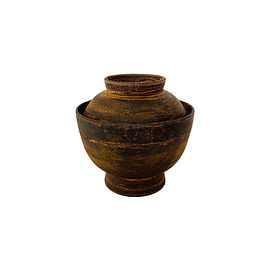
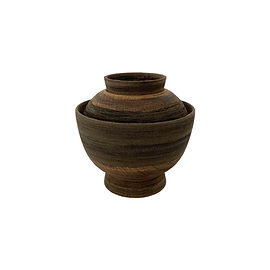
1. The base
The base are provided from kiji-shi wood masters, forming rough wood chunk to refined wood base. This is the lacquer's heart, which is inevitable to check thoroughly. The tree has a life trace, so we remove the knot, crack, grain joints with sharp knife to prevent the trouble later on.
This step called KIRI BORI(切彫り).
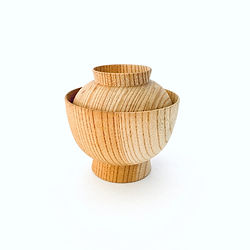
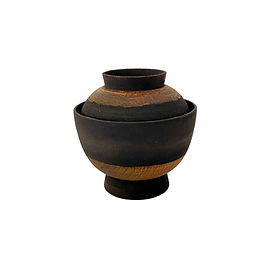
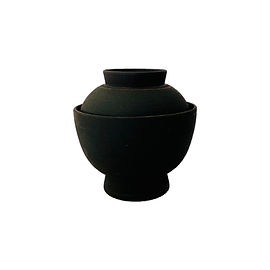
2. Permeat & Solidify
Unmodified natural raw lacquer sup applied to the whole surface of base to prevent wreck or crook, fixes its form firmly. Workshop visitors surprised to this black colour change, ask the reason why. Original lacquer sup is beige and white, which changes to dark and deep colour triggered by oxidization as the time passes.
3. Filling bumps
Still there is a clear scars of Kiribori and grain tracement. Unless we apply some paste into those concave, the smooth surface will never be achieved. So at this point we put Kokuso Urushi to refine the surface for the next step. This paste is consisted with a mixture of rice glue, wood powder, and raw natural Urushi in a best mixing ratio.
4. Polishing
The lacquered surface has water proof urushiol coat, which is a little bit slippery. So at some point, sanding required to remove urushiol from the surface. Paint & Polish are the repetitive process continues till the end. This also enhances the "catch" for the next coat.

5. Edge protection
For those delicate edge often tends to crack, rough cotton strips applied with glue urushi (mixture of rice glue and lacquer sup), for further reinforcement. These strips are very tricky and sticky to fit in, but craftsmen handle this with light touch of their skilled technique.

6. Cut the excessing strip off
After solidifying the edge, the excessing cotton edge should be removed so that the lid fits to the bowl. plus smoothing required slightly with rough sanding paper.
7. Fill the strip bump
Still there are some bumps slightly in between strip and the wood. To smooth this, we apply SOUMI urushi which is a mixture of burnt wood powder and raw natural lacquer sup evenly to that part. This applying range varies depending on its purpose and function.
8. Soumi polish
After solidifying the soumi urushi, we polish the bowl thoroughly with rough sanding paper. Now we are ready for the whole paint towards 1st priming.
Soumi means whole application. This holds burnt wood powder and un- modified urushi, cover up the entire form which could be the very first basic coat supporting following layers after.
9. Ippenji / 1st basic coat
Mix up the roughest burnt local diaomeacious earth aka Jinoko, rice glue, and natural raw lacquer sup, so does called as Ippenji urushi. We devide this applying part into several area across over a few days, since each part is too soft to touch after layers.
For more extra rim reinforcements, Hinoki cypress spatula which leads natural raw urushi fully till the limit has been used as efficient tool. We call this JIBUCHI HIKI.
10. Ippenji polish
After solidifying the Ippenji urushi, we polish the bowl thoroughly with rough whet stone. Tuning up for 2nd layer has done.
11. Nihenji / 2nd basic coat
Now you'd realize the Jinoko powder are getting finer and smoother as the process follows... Here we use the mid-milled powder. The rest of them are the same ingredient we did before. Then this Nihenji urushi will be applied and repeat the step like the 1st layer. The applying area will be divided into 3-4 parts.
12. Nihenji polish
Light touch-up with whet stone or similar sanding paper.
Ready for the last basic layer.

13. Sanbenji / 3rd basic coat
The finest jinoko powder rising on the stage. The 3rd prime mixture content is still the same, but called as sanbenji urushi.
The step is...well nothing has changed, repeating turtle slow speed (we love turtles since they are symbolized as long life, mirroring things we make).
Anyway, by utilizing 3 powder range, more refined surface will arise...
14. Sanbenji polish
After solidifying for a few days, polish the surface lightly with whet stone, or sanding paper.
15. MESURI thin urushi coating
Sabi Urushi(mixture of Tonoko powder and unmodified raw urushi sup) applied to supply the damaged surface. Base priming is over now.
...Probably some of you are wondering how we dry each apply: we use Shime Furo, the moderate wood sauna for lacquerwares, under 75-85% humidity and 20-25 ℃ environment. They simply need humidity and oxygen in appropriate temperature so that they would properly be harden enough.
16. Final base coat polish
After tuning up the surface, polish them completely with whet stone, with fully flowing water.
Here, catching the rhythm, and muscle to polish properly are required with patience. Since the variety of goods are fully ranged, craftsman has their "original" stones, which fits to polish tiny dolls to huge furniture.
In their antique-old fashioned tin, 100~200 of stones are jammed. Only them could tell which is which, who can pick the right stone to work on from that chaos.

17. Intermid coat - Nakanuri
Swapping tools from modeling spatula to brush, a turning point arises up in here.
To fix the basic layers we "lock" the under coat by layering Nakanuri Urushi.
This sup is naturally powerful and strong glue, protects the former coat from collapsing. Here, intensive sauna box required for solidifying rather than moderate humidity, triggers oxidizing.

18. Intermid-polish Nakatogi
Again. Polish. A specific charcoal called Suruga Sumi will be the main tool.
If a small pinhole found on the bowl surface, or lacquerware itself was wonky, extra adjusting operations will be taken here as well.
Also we keep off oil out from our hand. All we knows watery urushi and oil will never be good friend each other. So we thoroughly wash our hand before working on.

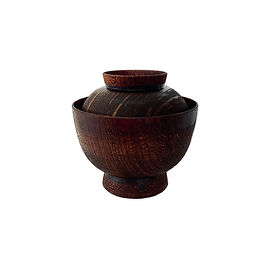
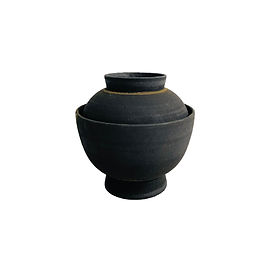
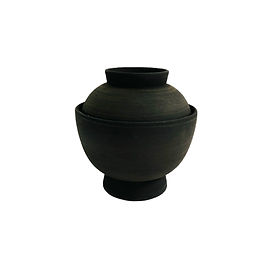
19. Aka-Naka/Konaka-nuri
Again we apply the Nakanuri urushi, to hold the fixed part firmly, let them sleep in the same sauna before. This also known as Konaka nuri.
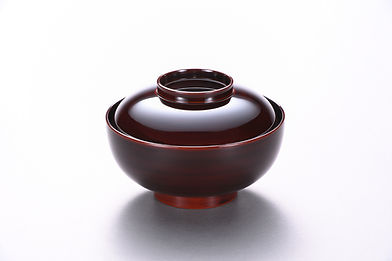
If, someone told us to change its color to red or amber, we apply red-ish undercoat (shown right). This also called Aka-naka(red undercoat) or Tame-shita(amber-undercoat) enhances the final finish prevents black base coat appears afterwards.
If amber under coat was balck, it'll be Kurotame (black amber).

20. Konaka polish/Fukiage
After Aka-naka or konaka applied, it'll be thoroughly polished with specific whet stone #No. or Surugasumi. Again we check the level whether it stands properly or not, including bumps as well.
Any oil or dust are forbidden to step in to the last touch room- Uwanuri.
Fukiage ladies completely wipe out those traces from the surface, send them after picking the right order ticket with heart and thoughts.

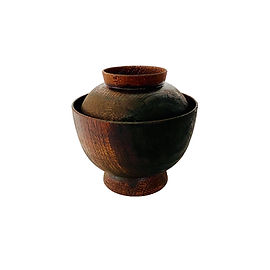
21. Final coating - Uwanuri
Meeting up the urushi mixing rate cuts the day start. Climate is the key for stabilized manufacturing, so it does required to look after the sup everyday in advance. Exquisite Japanese Uwanuri urushi will be layered on twice divided in inside and outside. Keeping sharp eye with dust, bubble, and any brush trace are strictly checked for a perfect smooth coating.
As you may know, liquid has dripping quality under gravity principle.
Plus, urushi is tricky, slow fluid. Then, eventually it will be required to ride on sauna Ferris wheel for fine, stabilized surface. This Ferris wheel prevents urushi sup dripping/wrinkle unevenly.

22. Fine finish - Roiro
Natural fresh look is inevitable to forget, but deep watery shines also enhances Wajimanuri charm by Roiro technique. Leveling the invisible bumps to more finer surface, polish it up with specific polish powder and oil. Here also craftsman fivesense tells what to do, detects ugly point on the surface with their own fingers and hand paws.
Plus, this working section has wide capability of decoations, including preparing the Makie under coat polish called douzuri, or work on various effects looks like sand, stone, mixed materials, or apply metal powder; holds one of the remarkable part of decorative technique.
23. Chinkin / gold engraving
Using a suitable chinkin knife, patterns are applied to the lacquered or Roiro surface. Looking closely at the engraved sliced photo with micro scope they have V sandwich structure; urushi+gold+urushi. In this valley, urushi sunk into the bottom first, then gold powder or leaf pushed firmly, urushi applied again which prevents the golds coming off,
After removing the excessing urushi, a moistened towel will be covered for stabilizing. Again, check the excessing urushi in between line and line, then remove the excessing metal with palm. Finish. This gold sinking act is the reason to be called Chinkin.
Also, No Undo allowed; literally they "scratch" the surface, you can't use eraser. Plus, reliable dessin skills are required since they are generally consisted with line or dot.

24. Makie
Despite of chinkin digging the zero surface to depth, Makie are based on addition fact.
In proof of that, 3D mdelling is also their professional area.
For secure operation, pattern traces must be done on smoothly scratched surface, then draw the essential structure line. Paint the specific area, then gently "sprinkle" the gold on that lacquered area. This sprinkle act is "maku" in japanese, so does called maki-e 蒔絵; gold sprinkled painting.
With only this procedure will never be achieved the definite shine, repetitive polish & urushi protection should be done until it truly shine.
This routine changes depending on its decorative techniques.
Some does finishes non-polish procedure.

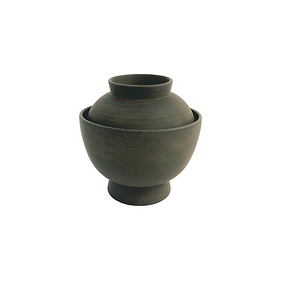
25. Finish
After passing through the hands of many people, including those order manager, craftsman, inspection, and transport drivers, our products are delivered to our customers door.
First and foremost, our goal is to make our customers happy. Even trends, customer ideas, and lifestyles has changed as the time passesby, this philosophy has remained & unchanged since 1924.
We would be truly happy if you exclaim "Wow!" when you unwrap your product.
We always wish your luck and enlighted lifepath with our product.
Thank you!
